Call (760) 535-1924 in the San Marcos & Orange Counties Areas.

How to Remove Automotive Window Tint: A Step-by-Step Guide
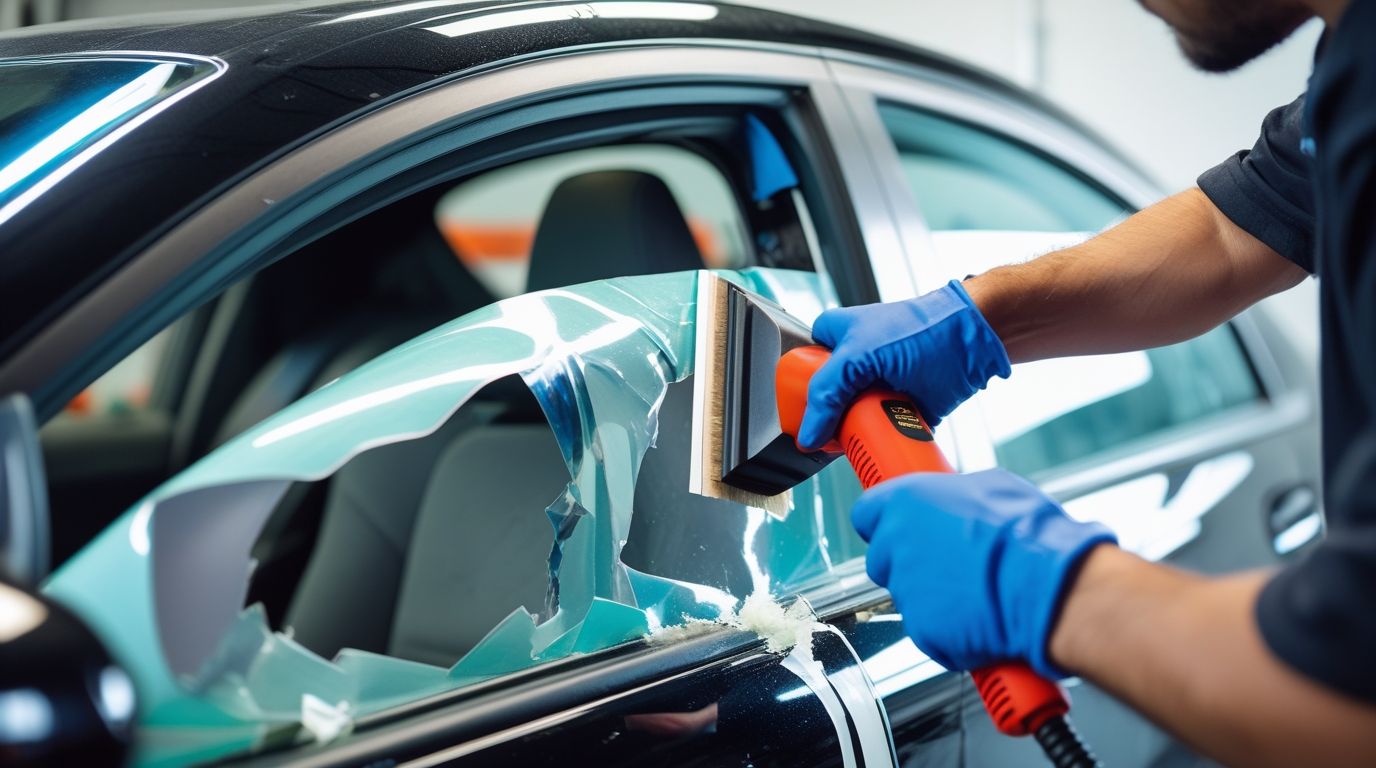
To remove automotive window tint, use a heat gun or steamer to loosen the adhesive, then carefully peel off the tint film starting from a corner. If residue remains, apply rubbing alcohol, soapy water, or an adhesive remover, then wipe clean with a microfiber cloth.
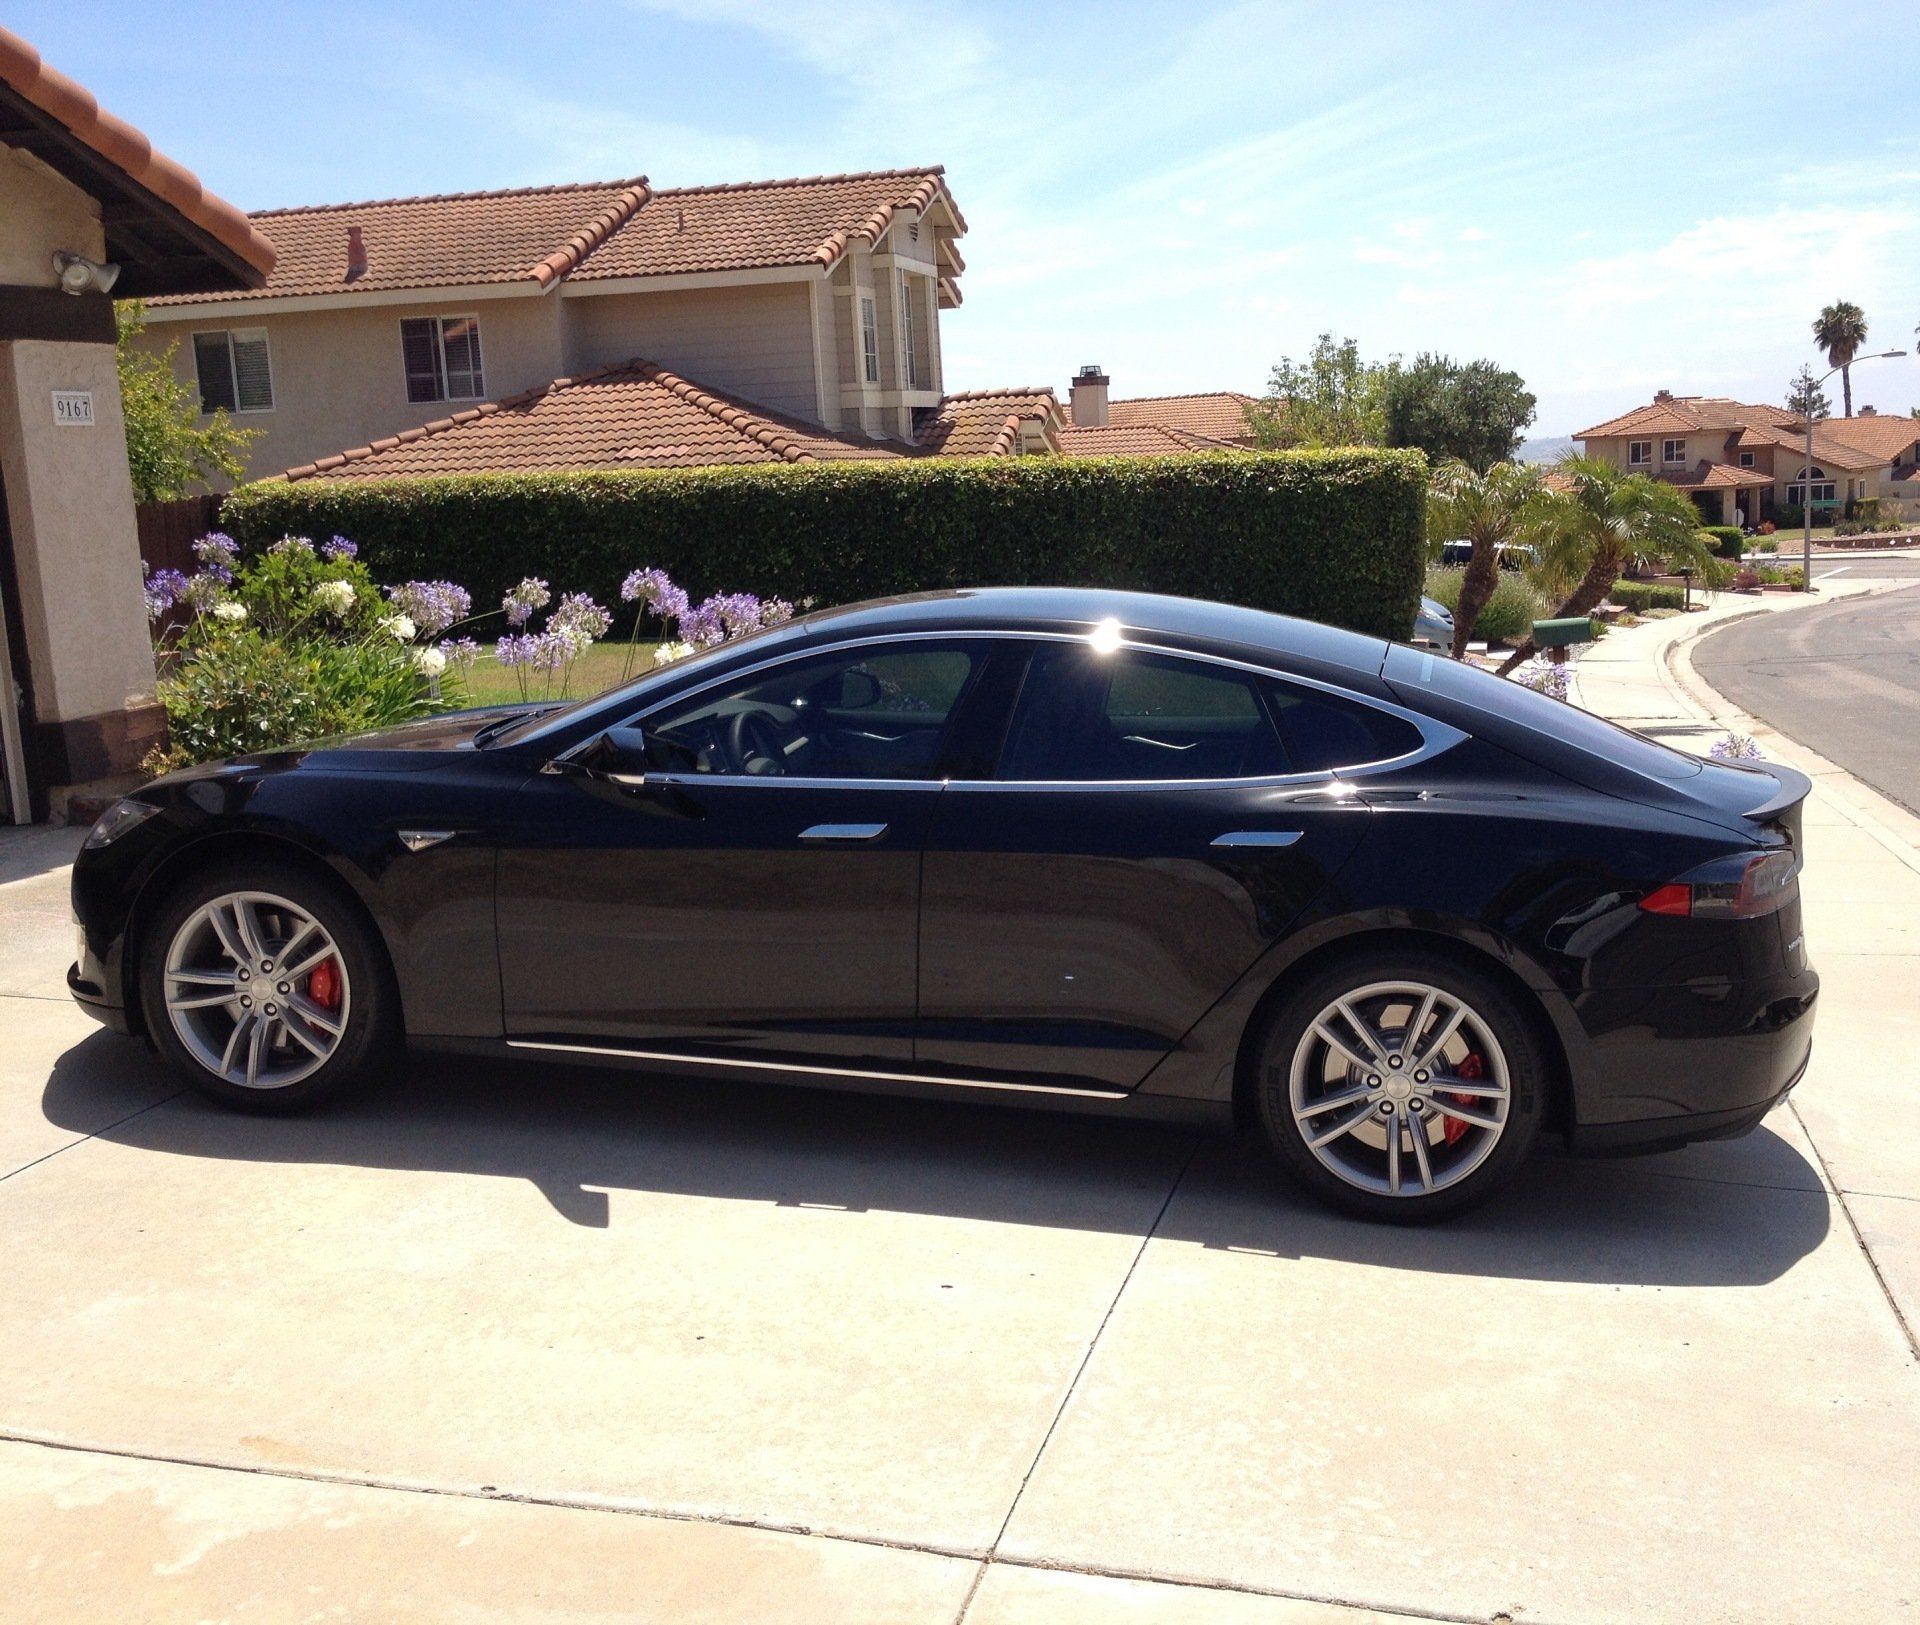
Automotive window tinting provides many benefits, such as reducing glare, enhancing privacy, and blocking harmful UV rays. However, over time, window tint may become discolored, start bubbling, or simply not meet your preferences anymore. Whether you want to upgrade to a new tint or return your windows to their original state, learning how to remove automotive window tint effectively is essential.
This guide will walk you through the most effective methods for auto window tint removal, ensuring a smooth and damage-free process.
Why Remove Automotive Window Tint?
Before diving into the removal process, let's explore some reasons why people choose to remove tint from their car windows:
- Bubbling or Peeling Tint: Over time, poor-quality tint films start bubbling or peeling, reducing visibility.
- Discoloration: Exposure to sunlight can cause the tint to turn purple or fade.
- Legal Compliance: Some states have strict regulations regarding tint darkness, requiring removal or replacement.
- Better Visibility: Aged tint can become cloudy, reducing driving visibility, especially at night.
- Resale Value: Removing tint can make a car look newer, potentially increasing its market value.
H2: Best Methods for Automotive Window Tint Removal
There are several ways to remove tint from car windows, and the method you choose depends on the tools available and how much time you want to invest. Below are the most common techniques:
1. Heat Method (Using a Heat Gun or Hairdryer)
Best for: Small sections of tint or minor adhesive problems.
What You Need:
- Heat gun or hairdryer
- Razor blade or plastic scraper
- Glass cleaner
- Microfiber cloth
Steps to Remove Window Tint with Heat:
- Turn on the heat gun or hairdryer and set it to high.
- Hold the heat source 3–5 inches away from the tinted glass, moving it slowly to warm up the film.
- Once the adhesive softens, use a razor blade or plastic scraper to lift one corner of the tint.
- Slowly peel the tint away while continuing to apply heat.
- Remove leftover adhesive using a glass cleaner and microfiber cloth.
✅
Pros: Quick, effective, and widely used.
❌Cons: Can overheat the glass if not done carefully.
2. Steam Method (Using a Steamer or Hot Water Vapor)
Best for: Large tinted areas, professional-quality removal.
What You Need:
- Handheld steamer or garment steamer
- Plastic scraper or razor blade
- Paper towels
- Soapy water or ammonia-based cleaner
Steps to Remove Tint with Steam:
- Fill the steamer with water and let it heat up.
- Hold the steamer close to the window, applying steam evenly over the tint.
- Start from the edges, using a plastic scraper or razor blade to loosen the tint film.
- Once the adhesive softens, carefully peel the tint off in one piece.
- Wipe down the glass with soapy water or ammonia cleaner to remove residual glue.
✅
Pros: Works efficiently for large windows; minimal residue left.
❌
Cons: Requires a steamer; slightly time-consuming.
3. Ammonia and Soap Method
Best for Stubborn, old window tints.
What You Need:
- Ammonia-based cleaner
- Black trash bags
- Spray bottle
- Razor blade
- Soapy water
Steps to Remove Window Tint Using Ammonia:
- Cut black trash bags to the size of the car windows.
- Spray ammonia-based cleaner on the inside of the window tint.
- Immediately cover the tinted surface with black plastic bags, letting the ammonia soak in the sun.
- Wait 30–45 minutes for the ammonia to break down the adhesive.
- Carefully lift the tint using a razor blade, and peel it away.
- Use soapy water and a microfiber cloth to remove the remaining glue.
✅
Pros: Ideal for older, hardened window tints.
❌Cons: Ammonia has strong fumes; requires proper ventilation.
4. Soap-and-Water Scraping Method
Best for: Small windows or light tinting.
What You Need:
- Soapy water solution
- Razor blade or plastic scraper
- Microfiber cloth
Steps:
- Spray soapy water directly on the tinted area.
- Let the solution sit for 10–15 minutes to soften the adhesive.
- Use a razor blade or scraper to remove the tint layer by layer.
- Wipe down the window with a microfiber cloth.
✅
Pros: Budget-friendly, no special tools required.
❌
Cons: Takes longer; requires manual scraping.
How to Remove Auto Window Tint Glue and Residue
After removing the tint, there may still be sticky adhesive residue left behind. Here’s how to clean it effectively:
1. Using Rubbing Alcohol or Acetone
- Apply rubbing alcohol or acetone to a microfiber cloth.
- Rub the glass in circular motions until the adhesive dissolves.
- Wipe clean with glass cleaner.
2. Using a Razor Blade and Soap
- Spray soapy water on the sticky residue.
- Use a razor blade at a 45-degree angle to scrape off the glue.
3. Commercial Adhesive Removers
- Products like Goo Gone or WD-40 break down window tint glue.
- Spray on, let sit for 5 minutes, then wipe clean.
✅ Tip: Avoid using harsh chemicals that can damage window defrosters.
How Much Does It Cost to Remove Window Tint?
The cost of tint removal depends on whether you DIY or hire a professional.
- Service Type Estimated Cost
- DIY Removal $10–$30 (Tools & supplies)
- Professional Removal $50–$150 (Per vehicle)
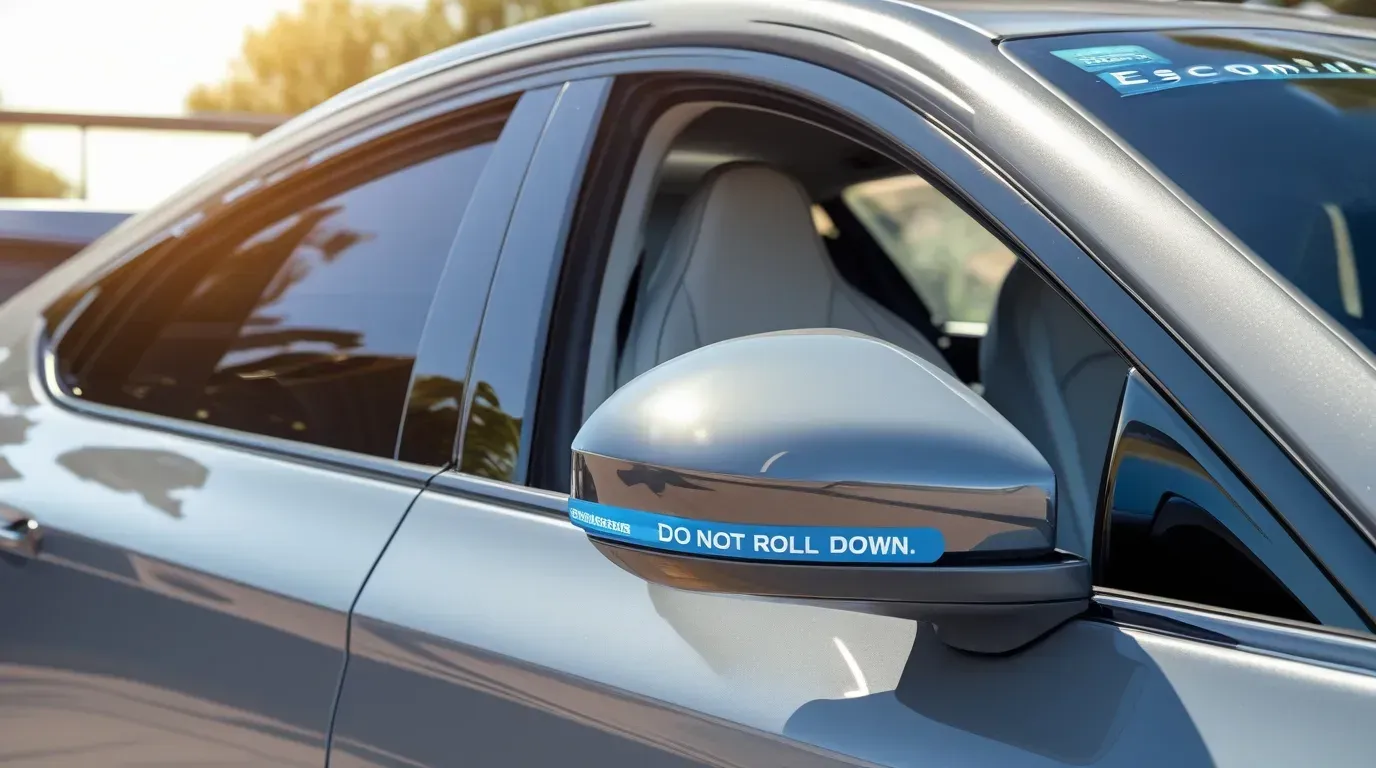
- Rear Window Tint Removal (Defroster Safe) $100–$200
✅ Tip: DIY removal is cost-effective but requires patience and proper technique.
Common Mistakes to Avoid When Removing Tint
🚫
Rushing the Process – Always soften the tint before peeling.
🚫
Using Too Much Force – Pulling too hard can break the glass.
🚫
Neglecting Glue Removal – Leftover adhesive will make your windows look messy.
🚫
Using Harsh Chemicals – Some solvents can damage window defrosters.
Conclusion: The Best Way to Remove Window Tint
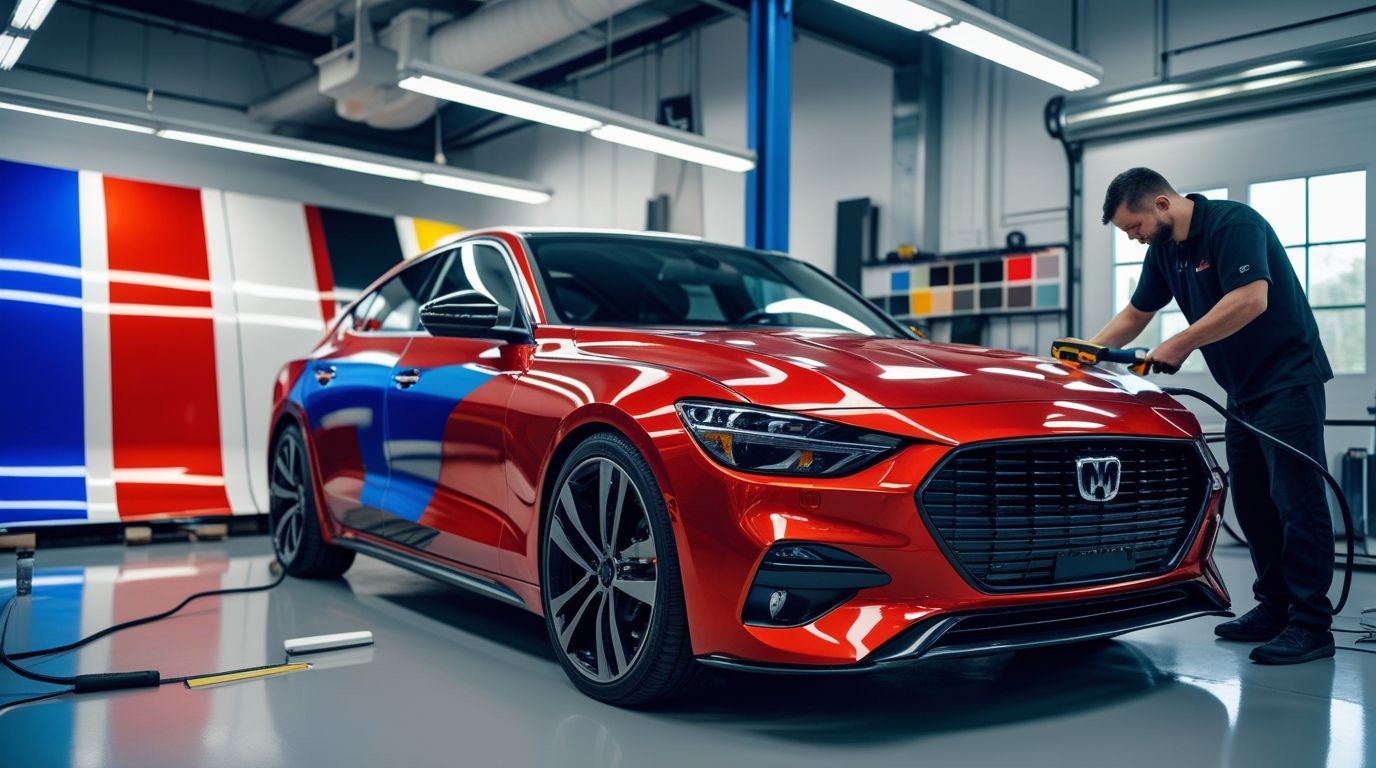
Learning how to remove window tint from car windows doesn’t have to be overwhelming. Whether you use heat, steam, ammonia, or soapy water, always prioritize patience and safety. If you're uncomfortable doing it yourself, auto window-tint removal services are available for a professional finish. Once you've removed the old tint, consider applying a new, high-quality tint to maintain the benefits of UV protection, privacy, and aesthetics.
Genesis Window Tinting Blog


Window Tinting Escondido
Window Tinting Carlsbad
Window Tinting Cardiff
Window Tinting Oceanside
Window Tinting Poway
Window Tinting Del Mar
Window Tinting Encinitas
Window Tinting Vista
Window Tinting Rancho Penasquitos
Window Tinting Rancho Bernardo
Window Tinting Rancho Santa Fe
Window Tinting Solana Beach
760-535-1924 or
760-703-0919
info@genesistint.com
San Marcos Address
1075 Linda Vista Dr. Suite E
San Marcos, CA 92078